Step One: Pick A Gluten Free Turkey
Find a turkey that is gluten free. Turkeys are of course naturally gluten free, however, some companies inject flavorings into their birds that contain gluten. Here is one source where you can find a list of gluten free turkey brands and other tips on what to watch out for.
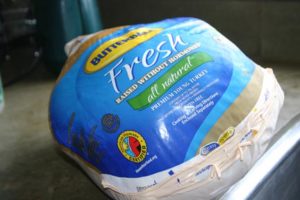
Our bird of choice is a Butterball turkey.
Step Two: Defrost your turkey
Buy your turkey about a week before you plan on cooking it and let it defrost in the refrigerator. This is by far the best and safest way to defrost your bird. For more information on methods to defrost the turkey safely check out the Butterball website here.
Step Three: Give your turkey a shower
I make a nice “bed” of paper towels to lay the turkey on after I have rinsed it inside and out.
Remove the packaging and the package containing the organs and the neck. Some people like to cook these with their turkeys, but I don’t. I discard them. I also remove the plastic that holds the legs together. (But I have cooked it with that on and it has been fine.)
Run water over the turkey and let the water run through the cavity of the bird. This will remove any blood that is left inside it. Shake the bird a little bit to remove excess water from inside.
Step Four: Pat down to dry
Take some paper towels and pat the bird dry. Just on the out side, no need to do the inside. Don’t rub the paper towel on the bird or you will end up with paper falling apart against the skin.
I have never noticed so many stray feathers left on the turkey as I did with this one. I just plucked them off as I patted it down.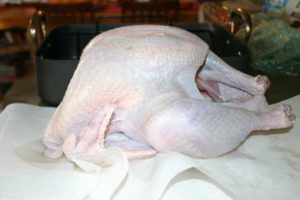
Step Five: Add some flavor to your bird!
Place the bird in your roaster. I love my Pampered Chef Turkey Roaster! However, using a throw away turkey pan or another roaster works just as well.
Stuff It!
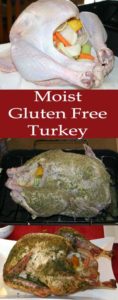
I don’t like stuffing my bird with stuffing, but I do stuff it for flavor with vegetables. This year I added a lemon and it was amazing! I have never cooked such a moist turkey before! The lemon made a big difference from past years!
I stuff some onion, carrots and lemon under the skin of the neck of the bird. I stuff it as full as it will hold it without dropping the vegetables out. Tucking the skin around the bottom or into the neck area helps some to hold the vegetables and lemon in.
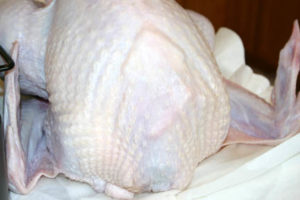
The vegetables:
Stuff the cavity with vegetables! Alternate putting them in so there is a good mixture.
Onion
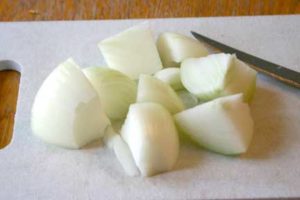
Cut into chunks
Carrots and celery
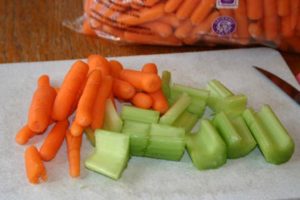
Baby carrots are the perfect size! Cut the celery into chunks about 1 1/2 inches.
Lemon
I always wash thoroughly my lemons before putting them in anything. Before cutting, put a drop of dish soap on the rind and scrub with a vegetable brush. Rinse thoroughly to remove all the soap, then cut.
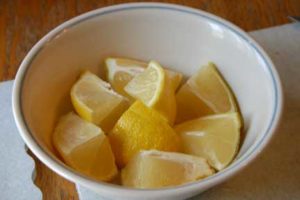
Lemon cut into wedges and then cut in 1/2 or 1/3
Step Six: Rub the turkey down with butter
With 1 cube of softened butter, rub the bird down with your hands. Spread the butter all over the bird. The butter helps the herbs to stick to the skin and it gives it a nice brown color after cooking.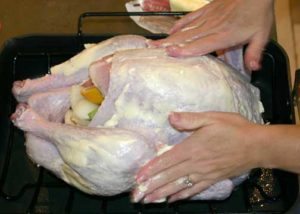
Step Seven: Herbs for flavoring the skin
In a small bowl, mix: basil, salt, pepper, Rosemary, sage, lemon peel, onion powder and parsley.
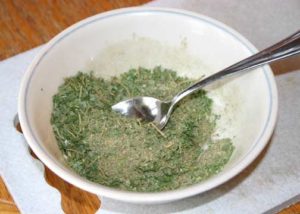
Rub and pat herbs into the butter, all over the turkey.
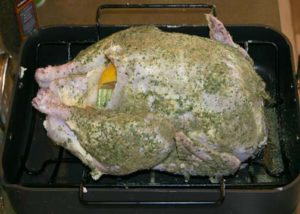
Step 8: Meat thermometer
How long you cook your turkey is based on 2 things: how much it weighs and what its internal temperature is. A turkey should cook to an internal temperature of 165°. Most turkeys come with instructions of what temperature and for how long according to their weight.
My oven has a probe setting where it will measure the temperature as it cooks and then beep when it is to that temperature. For help in how to place your meat thermometer check here.
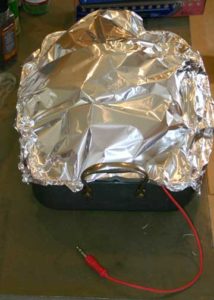
Step 9: Cover your turkey to make it moist
Covering your turkey helps the moisture stay in the meat. I do not baste my turkey.
Step 10: Oven ready
If you are using a probe setting on your oven, it is time to set it according to your oven’s directions. If you don’t have a probe setting then it is a good idea to begin pre-heating your oven to 325° or the temperature on your turkey’s instructions, when you are preparing the bird for cooking.
Once your bird is in the oven, set a timer for your cooking time according to the weight. Usually there is a table of instructions that came with your turkey. Many turkey brands offer a hotline for calling the company to ask questions.
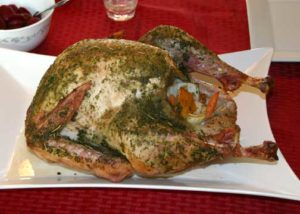
Step 11: Moist turkey ready to enjoy
It always feels 10 times heavier coming out of the oven as it did going in. Make sure someone strong is close by to help maneuver your turkey from the oven and then to a platter for carving. The vegetables are often still pretty crisp. I put them out if anyone wants to eat them, but they usually end up being thrown away because there are always so many other things to enjoy!
Step 12: Don’t throw away the bones!
Throw the bones, left over skin, and some fresh vegetables in the crockpot to make a bone turkey broth that can be used in gluten free Turkey Noodle Soup!
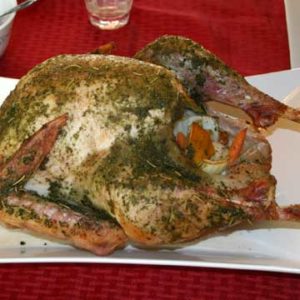
Moist Gluten Free Turkey
Ingredients
- 1 lemon- cut into pieces
- 1 onion- cut into pieces
- 2-3 celery stalks cut into 1 1/2 inch pieces
- 1/2 C butter softened
- 1 T Parsley
- 1 T Basil
- 1 tsp salt
- 1/2 tsp pepper
- 1 tsp Rosemary
- 1 1/2 tsp sage
- 2 tsp lemon peel dried
- 1 tsp onion powder
Instructions
- If not using a probe pre-heat your oven according to directions that came with your turkey (Usually 325 degrees)
- Stuff the turkey with lemon, onion, celery and carrots.
- Put the vegetables in the neck area and the cavity of the turkey. Layer them so there is a good mixture of them inside. (You don't want all the carrots together, you want some variety amongst the placement of the vegetables.)
- Rub the softened butter over the turkey with your hands
- Mix together: parsley, basil, salt, pepper, rosemary, sage lemon peel, and onion powder
- Rub and pat the herbs into the butter
- Place your meat thermometer or set your probe
- Time the cooking of the turkey according to directions on cooking time for the weight of your bird
- Carve turkey to eat








1 Comment
Leave your reply.